
-
Hole #1
Rustic Canyon opens with a long Par 5 that tends to play much shorter than the yardage dictates. Laying up you have the option of going right or left but beware of the ditch bunker left. Golfers who want to challenge the green in two the miss is left with a difficult chip to green that runs away from you.
-
Hole #2
One of the Toughest holes on the front nine. This long Par 4 has OB all along the left side and a potential pot bunker on the right. Favor the left side for best angle of attack. Beware the hump that dissects the green, short and left is better than long and right!
-
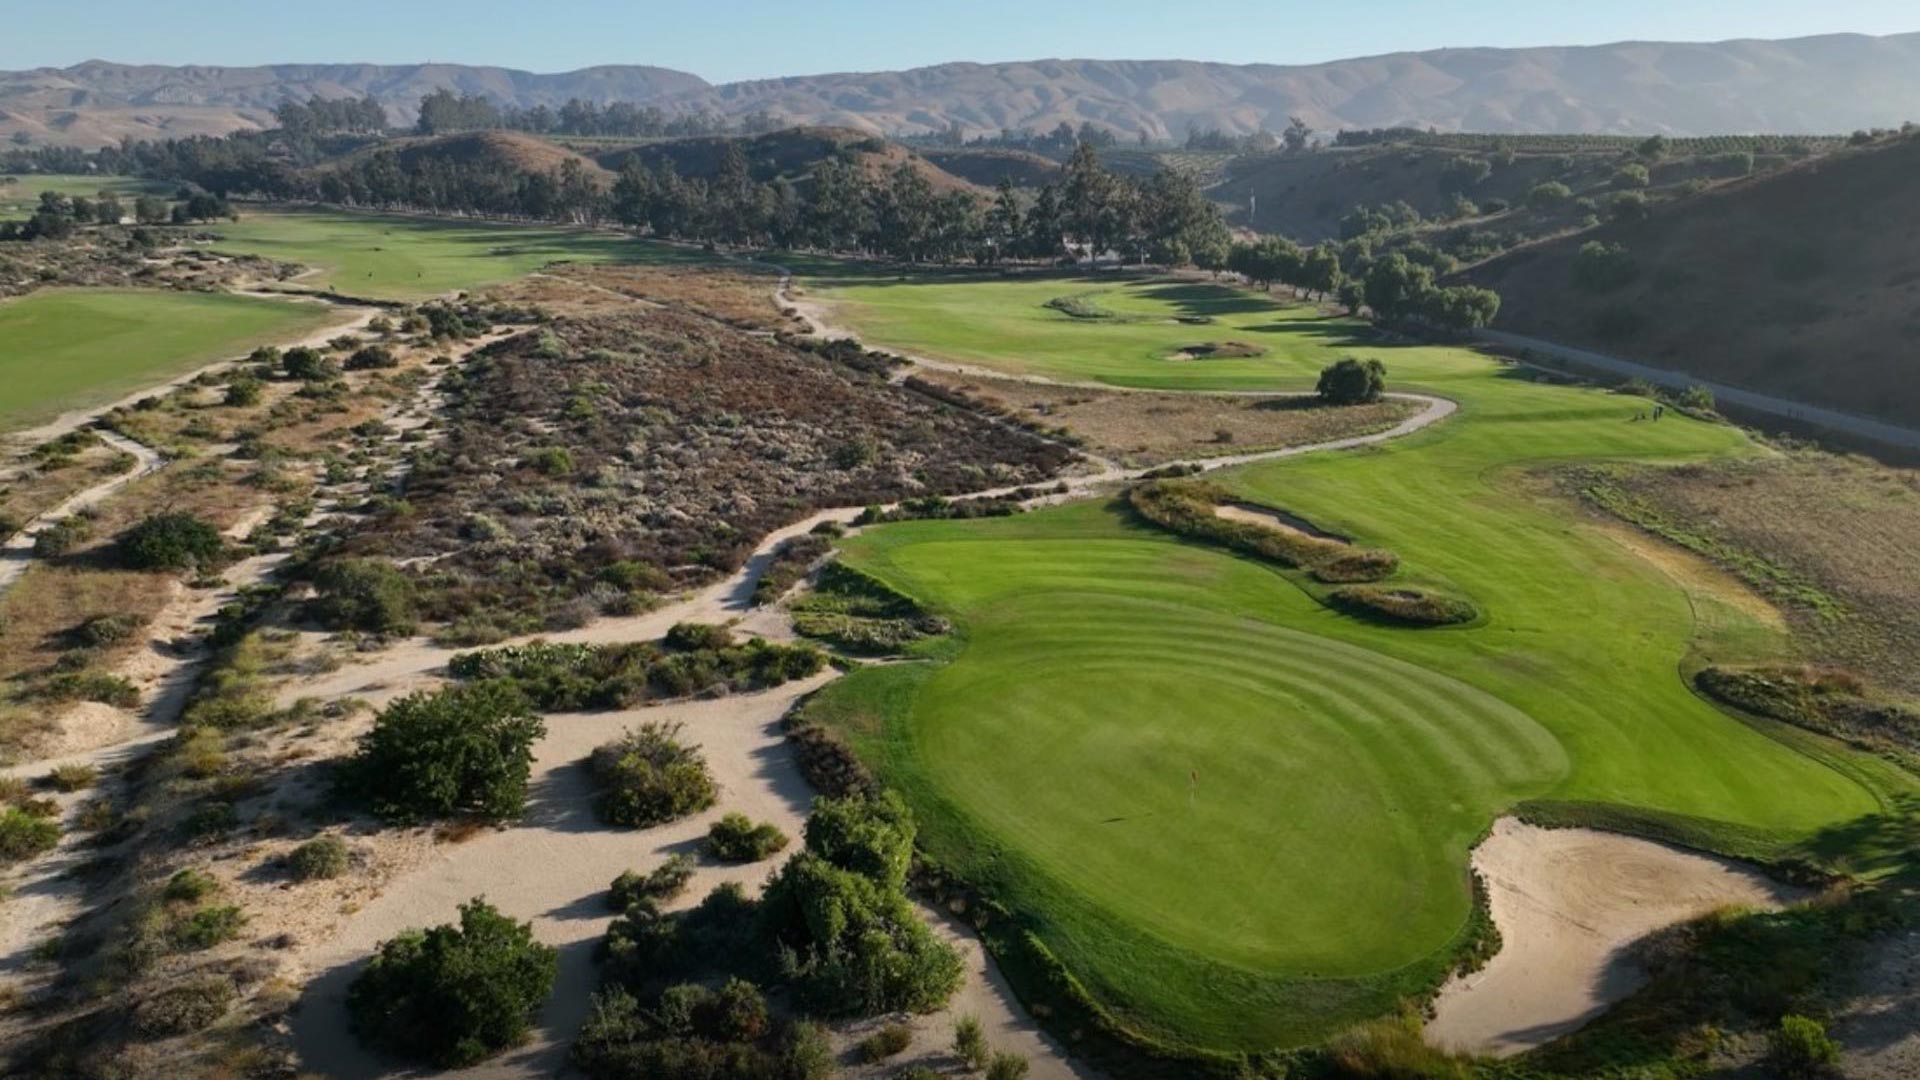
Hole #3
Wonderful risk reward Par 4. Most will go for green, but not always the smartest of decisions. Golfers have the option ton lay up left or right. Confident golfers with a confident driver will enjoy but beware you could bring a big score into play.
-
Hole #4
First of five Par 3’s is a challenging hole with a semi blind tee shot with what locals call “ buried elephant “ dissecting the green that runs front to back almost the length of the hole. If the pin is left, do not miss right. Two putting will test the best of putters when on the wrong side.
-
Hole #5
A very challenging Par 5 with the second shot being the most crucial. Laying up short of the pot bunker is the smart play which will leave you about 80 yards to the green. The closer you get, the more demanding the chip shot gets with a 10ft drop left of the green. Perfection is required if you miss left and thus a big number could come into play.
-
Hole #6
A solid Par 3 with forced carry over ESA that also runs along the left of the hole. The green is difficult and slopes front to back and is down canyon. Pin in the back, you must attack. Pin is the front, anywhere on the green is a win. Par here is a great score!
-
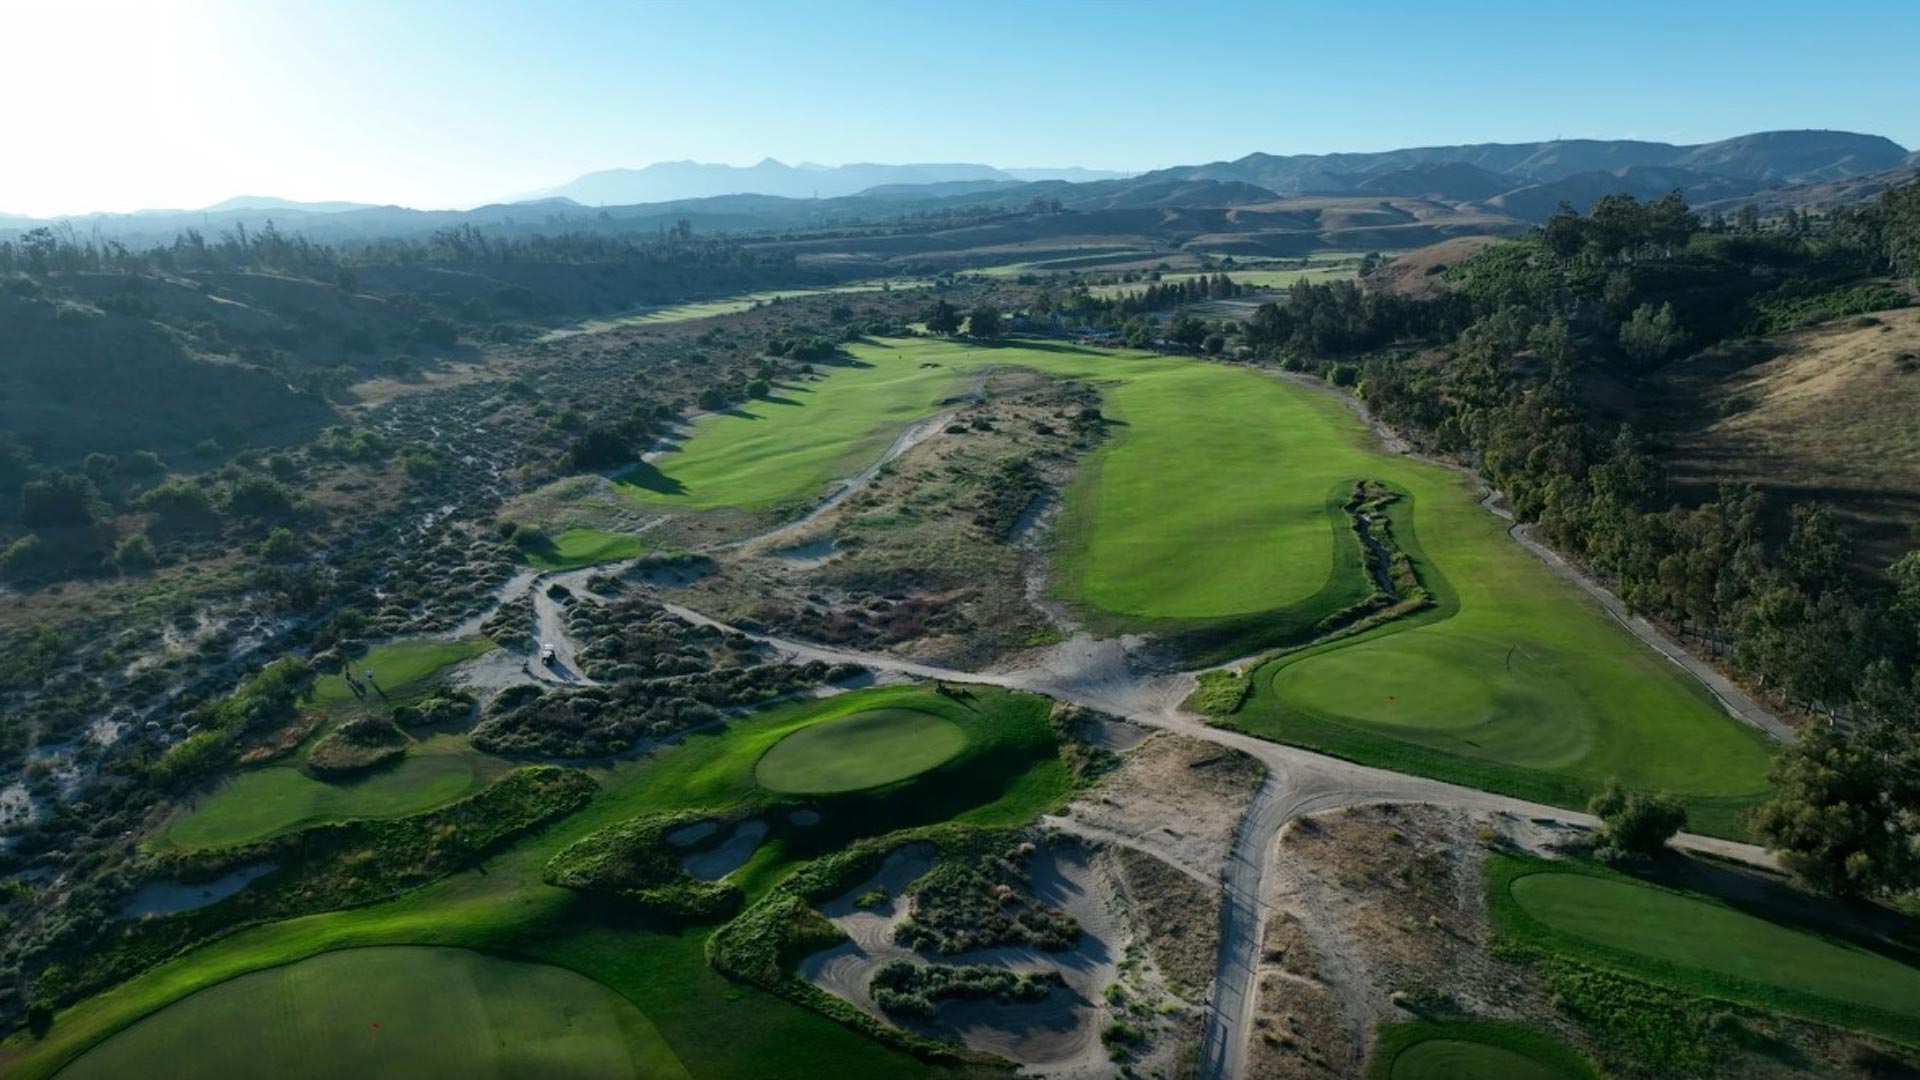
Hole #7
This par 4 presents more challenges than any other hole, with an ESA wash that runs through entire fairway. Laying up is the smartest choice from any tee box. Aim to left fairway for best angle of attack to this green which has a swale dissecting the length of the green which gives the green 3 basic zones. Two putting here will test the best putters.
-
Hole #8
This Par 3 has surrendered more Aces than all other par3’s combined. Regardless of the pin location, the middle of the green is the smartest choice, beware the left pin as it is a sucker pin and could bring bogey into play.
-
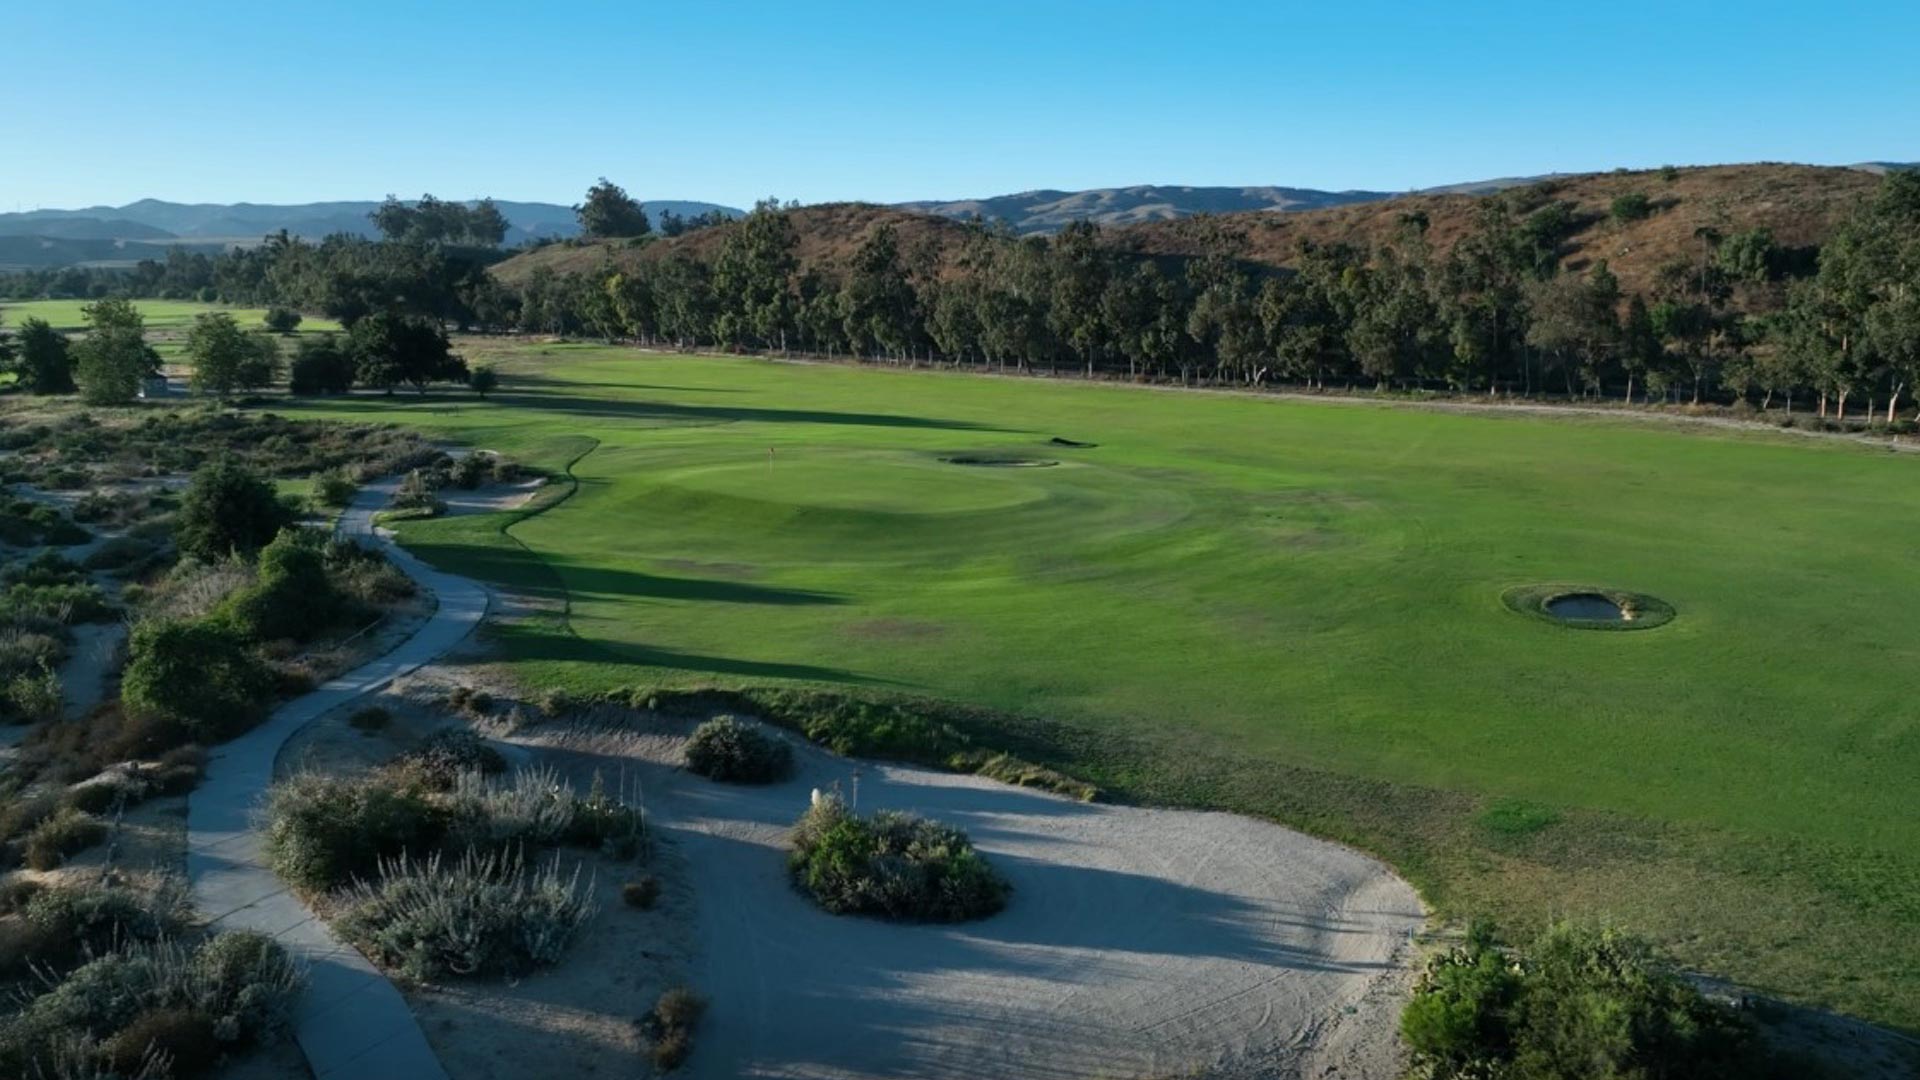
Hole #9
This long and straight Par 5 has ESA running down the left and right sides, players do not take enough club for the second shot and realize the green has a false front and will watch the ball roll 20ft down the slope. Green runs back to front, anything above the pin you will be left with a very quick demanding putt.
-
Hole #10
This uphill Par 5 has ESA all along the right side up to the green and up the left once you get into second fairway. Longer hitters will find trouble with a cross bunker the entire width of the hole. From the second fairway you have a waste area all along the right side. Your approach shot is to a green that measures 50 yards deep front to back with plenty of slope downhill back to front.
-
Hole #11
A very challenging uphill Par 4 with ESA all down the left side. Your approach shot is to green with a ridge down the middle which if missed on wrong side could leave very difficult two putt.
-
Hole #12
Another short Par 4 with risk reward attached, the play is hit to right and wedge it close, any balls right of the green, a sever slope comes into play and thus tight pitch shot you will have. Always miss left regardless of the pin location.
-
Hole #13
An uphill Par 5 with OB all along the right side. Beware the perfectly placed pot bunker smack dab in the middle of the fairway! The green is a boomerang shaped caressing a bunker. Missing on the wrong side could result in a roller coaster of a putt.
-
Hole #14
The start of some of the most difficult finishing holes around, blue and black tees you will have a tee shot of completely forced carry over ESA. This hole narrows once in the fairway all the way up to the green. The miss is right into the green with a very left influenced slope.
-
Hole #15
This short uphill Par 3 has unique three tiered green with dramatic slope from back to front. Avoid being above the hole at all costs! Front of the green there is a false front that could result in a 30 yard run off the green.
-
Hole #16
This tee box has one of the best views on the course, but is the most difficult of driving holes. With OB all down the right and ESA all down the left with the narrowest of fairways on the course. The approach shot plays downhill and short is the miss. Long requires incredible touch, good luck!
-
Hole #17
Slightly downhill Par 3 with waste area short and right of the green, left is never a bad tee shot. The green slopes left to right. Two putting is a test.
-
Hole #18
An in incredible finishing hole with ESA to the right and OB to the left of the tree line. Aim towards the left fairway bunker. Deep bunkers and ESA run along the right up to the green which has a deep swale directly in the middle and plays downhill. Clubbing down may be the option.